Change Logo in Reports
- 02 Oct 2023
- Contributors


- Print
- DarkLight
- PDF
Change Logo in Reports
- Updated on 02 Oct 2023
- Contributors
- Print
- DarkLight
- PDF
Article summary
Did you find this summary helpful?
Thank you for your feedback
This allows the user to add a logo to an individual report.
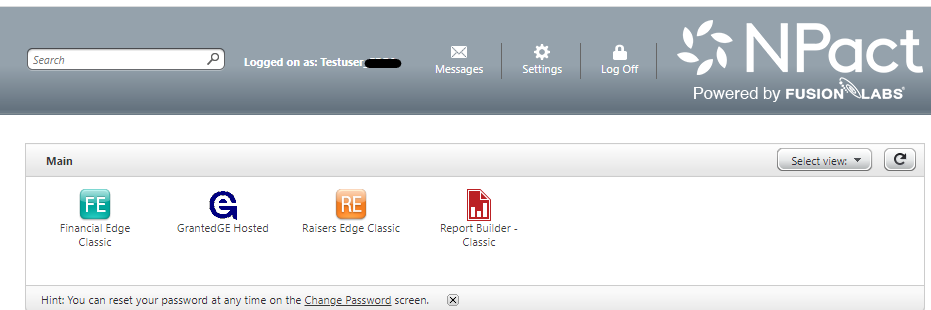
- Open Report Builder from the dashboard.
- Click Open Saved Report.
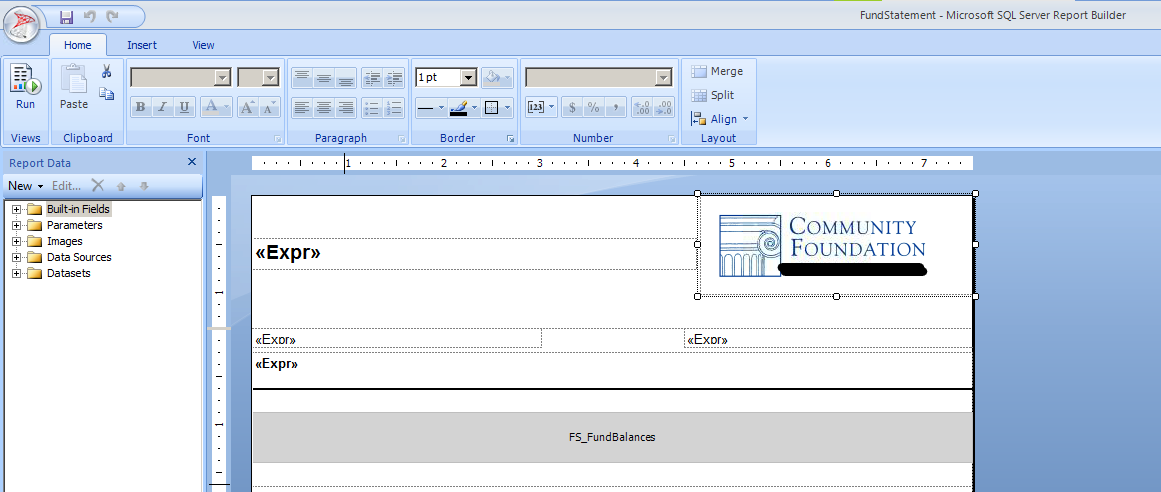
- In the new window, locate the report in the correct folder.
- Open the report.
- Click “Save as” to make a copy of the report then work on the copy. Using a copy will keep the original report intact incase any major formatting issues occur.
- Click Images.
- In the image fields, verify the image source is "embedded".
- Click Import to find the logo the user would like to add to the report.
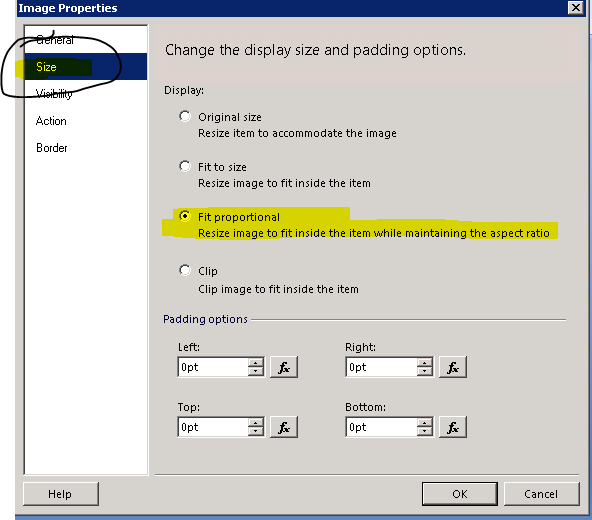
- Click Size, select the Fit Proportional radio button, and click OK.
- Test this report by printing it to ensure the margins and formatting are still in order before saving and exiting.
- After the image is uploaded, size the columns around the logo appropriately and then click Save.


For older versions of the Grant Edge Classic (GE Classic):
- Click Reports > Browse Reports.
- In the new window, open the report folder to edit.
- Click the drop-down arrow next to the report the user wishes to add the logo to.
- Click Edit Report Builder > Insert > Image.
- In the image fields, verify the image source is "embedded".
- Click Import to find the logo the user would like to add to the report.
- Click Size, select the Fit Proportional radio button, and click OK.
- After the image is uploaded, size the columns around the logo appropriately and then click Save.

Was this article helpful?
