- Print
- DarkLight
- PDF
Processing a Web Application to a Scholarship and Grant
Article summary
Did you find this summary helpful?
Thank you for your feedback
Overview
Scholarship Web Application
- Navigate to Web Apps > Manage Online Scholarship Applications.
- Open the scholarship web app to be processed.
- Review the information on the Details tab.
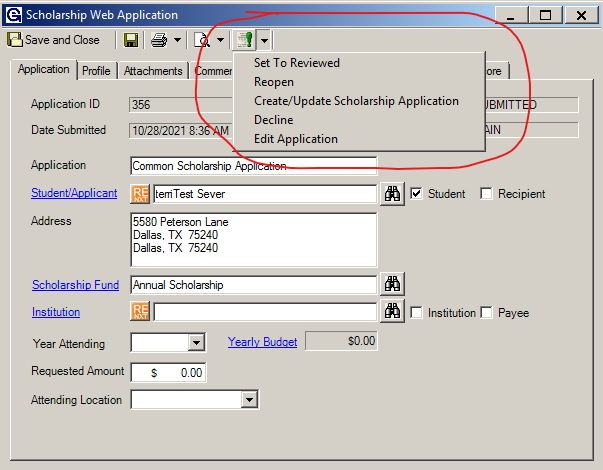
- Click the green button at the top of the record. Click Create/Update Scholarship Application. This will create a Scholarship Application record.
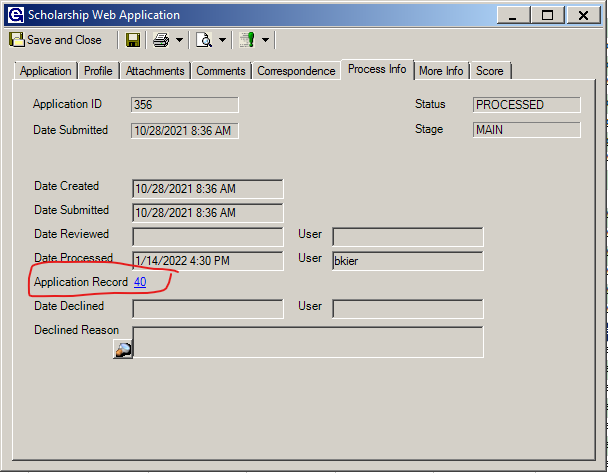
- Click on the Process Info tab. Then click the hyperlink next to Application Record to open the Scholarship Application.
Scholarship Application
- Ensure all information is filled out on the Application tab, including the Student/Applicant, Scholarship Fund, and Institution.
- The Profile tab will show you the students answers to the questions on the application.
- The Fund Allocation tab is where you set the fund and amount for the scholarship grant that you'd like to create.
- The Workflow tab requires that you complete a review step before creating the grant.
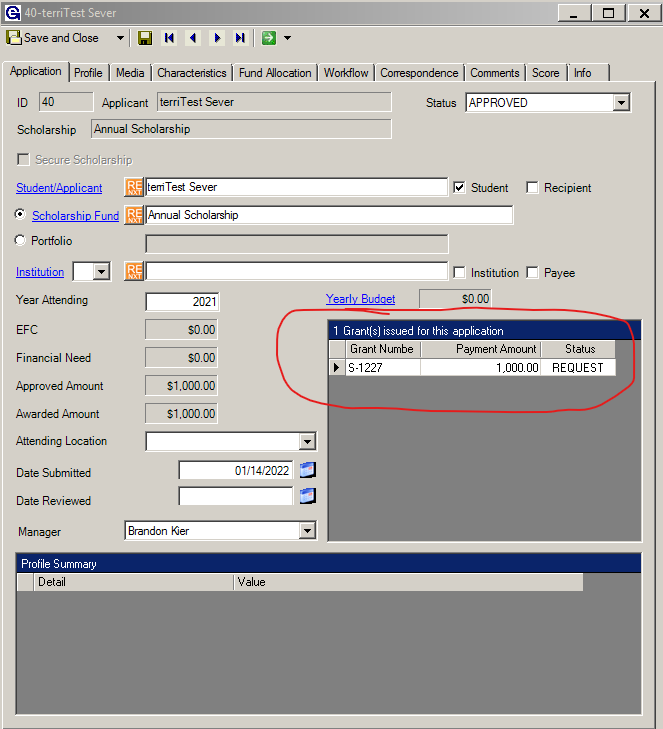
- After completing both the review and create grant steps, it will automatically open the grant record. If you do not see it, it will appear on the Application tab. Double-click it to open the grant.
Scholarship Grant
Process the scholarship grant just like you would other grant records. Ensure all information is filled out correctly.
- Click on the Applicant to update the applicant's address. The constituent record will open, click Save and Close and it will update with the address, etc.
- Make sure the College/University is the right one in the Payee area (some of them didn’t have colleges/universities or I was not sure of the address).
- Add the Student id to the Check Designation area.
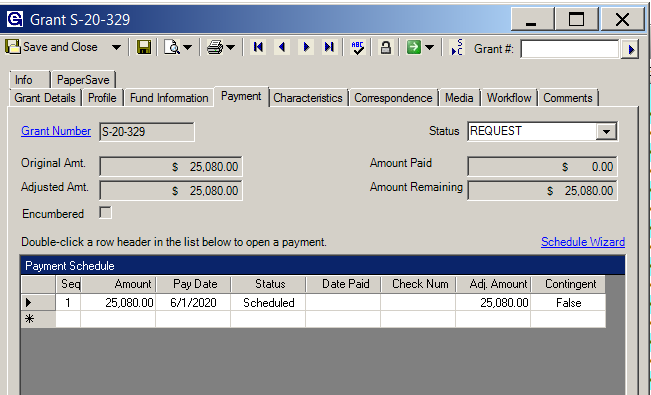
- Go to the Payment tab.
- Open up the schedule wizard.
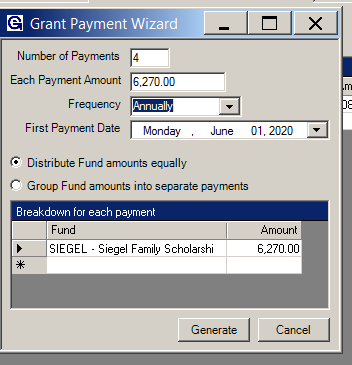
- Make sure it is set to Annual or Semi for semester payments. Make sure the first payment date is the date you want the first payment to go out and the amount you want for each disbursement.
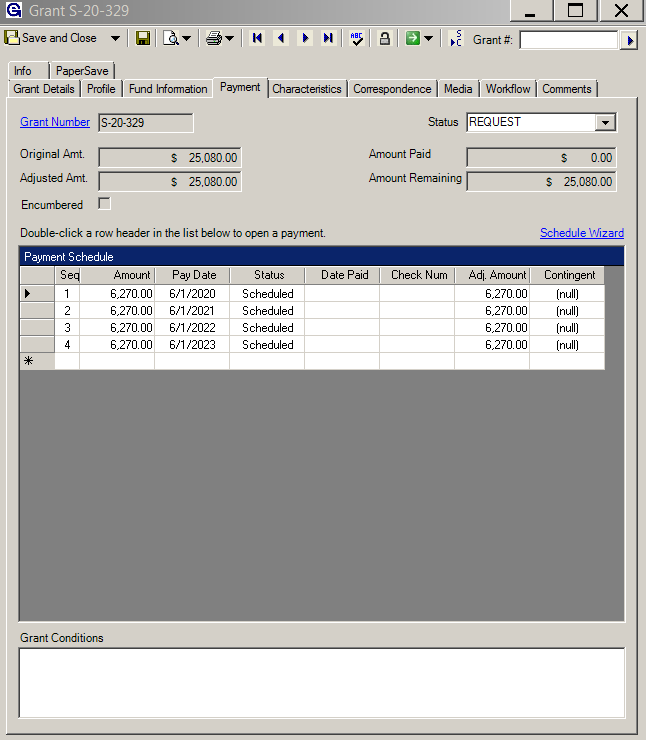
- Click on Generate.
Was this article helpful?


