Correspondence Templates
- 21 Jan 2022
- Contributors


- Print
- DarkLight
- PDF
Correspondence Templates
- Updated on 21 Jan 2022
- Contributors
- Print
- DarkLight
- PDF
Article summary
Did you find this summary helpful?
Thank you for your feedback
In order for the Grant Edge (GE) system to create letters utilizing information in the system, correspondence templates need to be developed. The Correspondence Templates option of the Admin menu is used for this purpose. The same process is used for both grants and proposals. The query is what tells the system if this is for grants or proposals. Templates must be saved in Word Template 2003 format (it may be a format of 95-2003 depending on the user's version of Word). On selecting this option, a screen similar to the one below is displayed.

New Correspondence Template
The screen displays existing templates that have been defined in the system, the location of these templates, and the type of record that the templates should be used with.
- To add a new template, click on the New Template button and the drop-down list of template types is displayed as shown below.
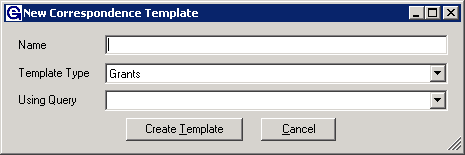
- Select Template Type.
- Enter a name for the template and the template type, which in this case would be Proposal. The Default Proposal Query will default in. If a special query has been developed, select it from the drop-down list.
- The New Template Name screen is displayed as shown in below.
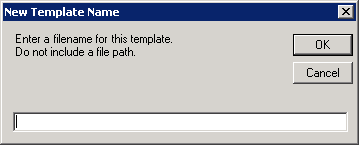
- Add New Template Name.
- Enter a file name for the new template document and click the OK button. The Template Description screen is displayed.

- Enter a short description for the template and click the OK button. Microsoft Word is opened and a blank screen is displayed as shown in Error! Reference source not found.
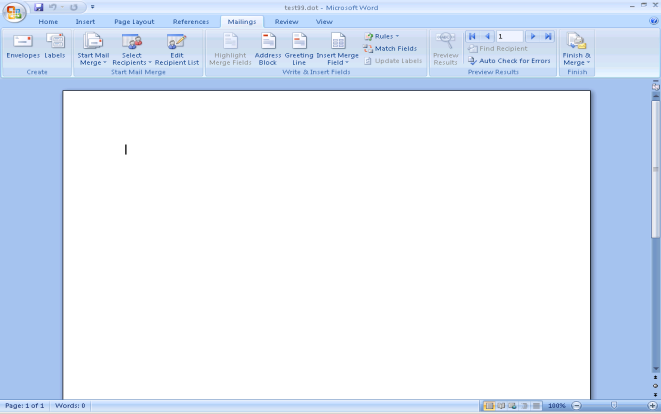
- Create New Template in Word.
- Enter the document (can copy paste from an existing letter). Add the merge fields and then click the Save icon to save the new template document.
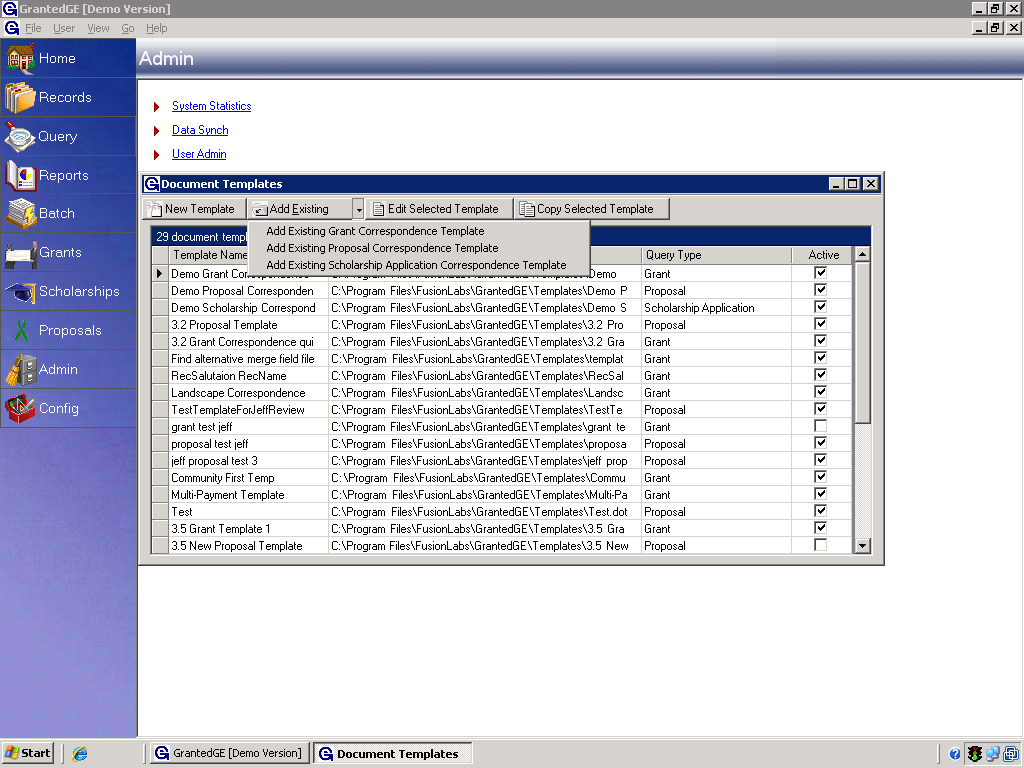
- Click on File – Exit to close the Word screen. The new document template is displayed at the bottom of the list on the Document Templates screen as shown below.
- If a Word template is developed external to GE, then use the Add Existing option can be selected from the drop-down list as shown in below to import the template into the system.
- This option displays the Select an Existing Template to Add screen similar to the one displayed below.
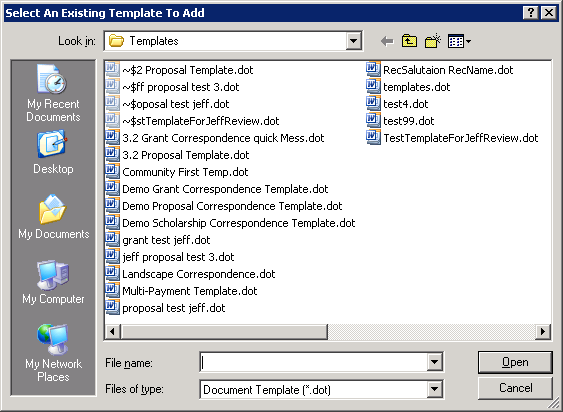
- Select an Existing Template.
- Browse to the directory containing the template and click on it. Click the Open button to import the template. A screen is displayed with the template file name as the description. Either enter a description or use the existing file name. Click on the OK button and the template is added to GE.
- To edit a template, select a template listed and click the Edit Selected Template button. Microsoft Word is opened and the template will be displayed as shown below.
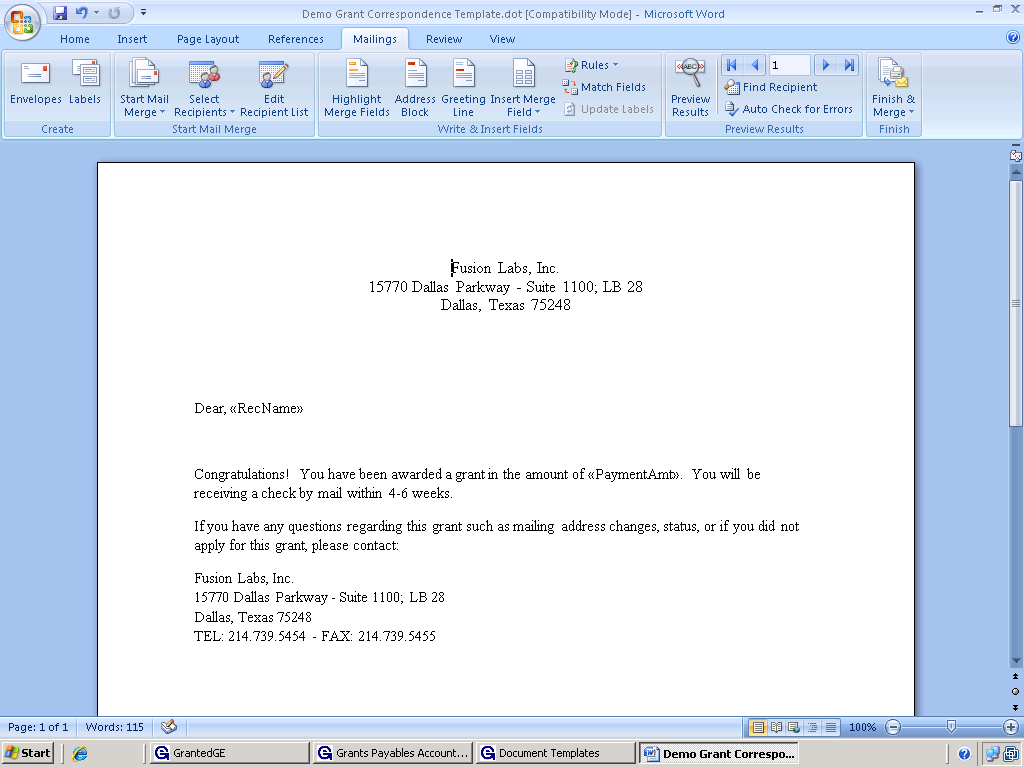
- Make any required changes and save the template. Go to File – Exit to close Word.
- The final template option is the Copy Selected Template option. This option allows an existing template to be copied to create a similar correspondence template. Click on the template to be copied and click on the Copy Selected Template button. The Template Name and Template Description windows will display respectively so a new file name and description can be entered for the new template. After clicking the OK on the Template Description window, the screen shown below is displayed.
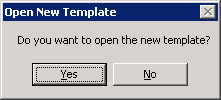
- Open Template.
- If the Yes button is clicked, the template will be displayed in Word for editing. To leave the template unchanged, click the No button.
- Once the template has been created, it can be used to generate correspondence from either a grant with a grant-based template or a proposal with a proposal-based template from the Correspondence tab of a record.


Edit a Correspondence Template
The ‘Edit Selected Template’ function allows the user to modify existing templates.
1. Go to Admin > Correspondence Templates.
2. Select the template to edit and then click Edit Selected Template.

3. The selected template will open in Word.
4. To add more fields in the selected template, click Insert Merge Field to select a field from the drop-down list.

5. Save any changes in Word.

Add Merge Fields to the Drop-down List in a Template
1. Go to Query and Existing Query with the description 'For Correspondence'.
2. Click on the Fields tab.
3. Add or remove the designated fields.
4. Click Save and Close.

Copy a Correspondence Template
The ‘Copy Selected Template’ option allows the user to copy an existing template to create a similar correspondence template. The user clicks on a template within the grid, to select it, then clicks on ‘Copy Selected Template’ to begin the copy process.
1. Go to Admin > Correspondence Templates > Copy Selected Template.
2. A pop-up screen will appear, allowing a new template name to be entered.
3. Click OK.
4. A second pop-up screen will appear, allowing the template description to be entered.
5. Click OK.

6. A third pop-up screen will appear, allowing the option to open the new template in Word. Clicking Yes will open it in Word. Clicking No will not.

Delete a Correspondence Template
The ‘Delete Correspondence Template’ option allows the user to delete an existing template.
1. Go to Admin > Correspondence Templates.
2. Selected the designated template within the grid and then click Delete Selected Template.
3. Once clicked, it deletes the template reference in the grid and the template file from the disk location.

Was this article helpful?
