Creating a New FieldMaker File
- 28 Aug 2023
- Contributors

- Print
- Dark
- PDF
Creating a New FieldMaker File
- Updated on 28 Aug 2023
- Contributors
- Print
- Dark
- PDF
Article summary
Did you find this summary helpful?
Thank you for your feedback!
Creating a New FieldMaker File
New FieldMaker fields are maintained in supplementary database tables (also called files). Before you can create fields, you must create a related file.
NOTE: Keep in mind that although this procedure uses specific data, you can create FieldMaker files for many parent tables in FIMS, including application, donor, fund, gift, grantee, pledge, profile, and student.
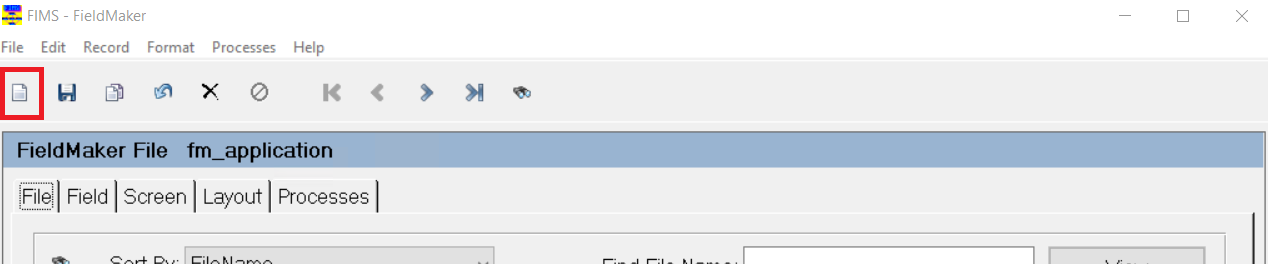
- From anywhere in FIMS, select Tools > System Utilities > FieldMaker Configuration. The FieldMaker window opens.
- Click the File tab.
- Click the New button on toolbar.
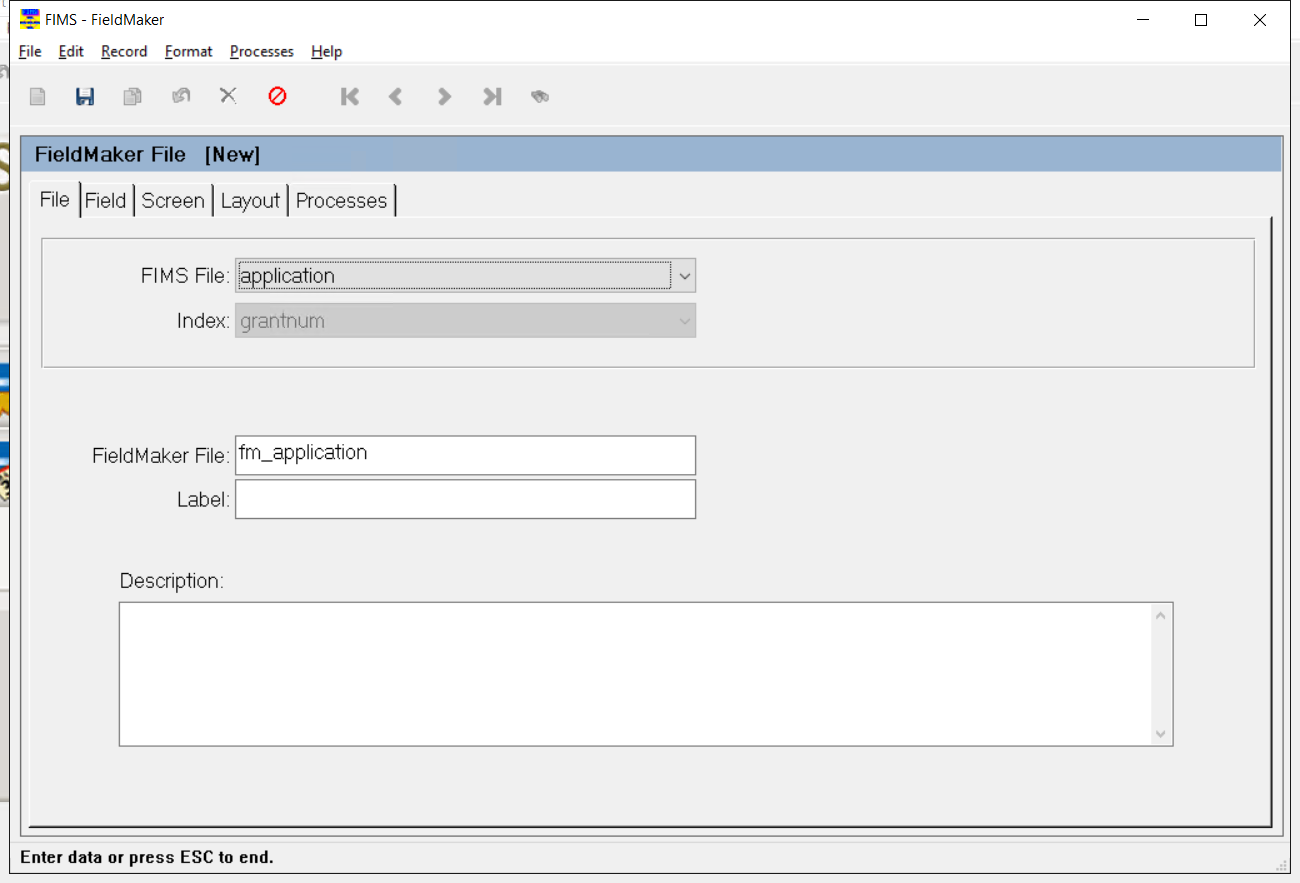
- Click the arrow in the FIMS File drop-down box and select the appropriate FIMS file (for example, application).
NOTE: The Index field is read-only. This is the field that relates the FieldMaker (fm) file to the parent file.
NOTE: The system automatically puts a name in the FieldMaker File field. In this case, the name is fm_donor.
- In the Label field, enter Application.
NOTE: It is generally a good idea to give the label the same name as the parent table.
- Click the Save button on the toolbar.
TIP: Selecting a FIMS File in FieldMaker
Selecting the appropriate FIMS file is sometimes obvious. For example, if you want to expand data fields for Grantee agencies, you would select the Grantee file.
Sometimes you need to understand database table relationships to make the choice. For example, if you need Grant (or Scholarship) fields, use the Application record — which is the transaction table for unposted grants. When you save and commit your changes the resulting FieldMaker table will hold the new data for Applications, Application History, and Grants. You will need to add a Plus Page via the Screen tab for Application History and Grants. The same considerations hold for Gifts and GiftHistory.
Planning may be required if you are trying to decide between the Profile and one of its related tables (Donor, Grantee / Vendor, or Student). If you want to add data for prospects and donors, the Donor file is an obvious choice. However, if you are adding a field that may be useful for any Profile (for example, an alternate e-mail address), use the Profile file so all similar data will be in the same place.
Because the Screen tab gives you control over the location of Plus Pages, and the Layout tab controls whether a field appears on any of these pages, you can add new fields for both donors and grantees to the Profile file, then control the presentation of each field (on the Donor Plus Page alone, the Grantee Plus Page alone, or on both). You could even choose to omit the Plus Page next to Profile, though it is the parent FIMS File.
Was this article helpful?

