How to configure and use MFA with DonorCentral
- 26 Feb 2025
- Contributors

- Print
- Dark
- PDF
How to configure and use MFA with DonorCentral
- Updated on 26 Feb 2025
- Contributors
- Print
- Dark
- PDF
Article summary
Did you find this summary helpful?
Thank you for your feedback!
How to configure and use MFA with DonorCentral
Users can use MFA with DonorCentral via the Microsoft Authenticator app, the Google Authenticator app or via SMS (text message). Starting on 2/26/2025, an email option for MFA will also be available.
Configuring and using MFA with DonorCentral:
I. Navigate to the DonorCentral site and log in.
II. MFA enrollment screen. Once you enter your username and password, you will be redirected to the following screen which will gives you an option to Enroll with Authenticator or Text Message which is the Recommended option, Enroll with Email (starting 2/26/2025), or Skip MFA for now.
.png)
- If you choose 'Skip MFA for now', you will be taken to the DonorCentral homepage. You will see the same page on your next login. The number of days in the message will update automatically. Skip for now is available for 30 days since you first see this page. After 30 days, skip for now will no longer be available you will have to choose an MFA method.
A. Enrolling in MFA with Authenticator or Text Message
In a new tab, the following window will appear where you will choose an authenticator app or SMS Text message:

Click 'Google Authenticator or similar' to choose to enroll in MFA using an Authenticator app. Choose SMS (Text Message) to choose text messages.
1. Authenticator App Option
Upon clicking the 'Google Authenticator or similar' option, you will see the following screen will appear where you will choose to use the QR code with an authenticator app:
Part of the QR code in this screenshot has been erased for security reasons. You will see a complete code in the box to scan.
.png)
- Users have 5 minutes to retrieve the code that is generated in the authenticator app and enter the code into the passcode area shown above. If the user does not get a code from the authenticator app within 5 minutes, the log in transaction will expire and the user will have to log into DonorCentral again and restart the process. Note that authenticator app generates a new code every minute. Every code generated by the authenticator app is only valid for one minute, but the next autogenerated code can be used within the 5 minute window.
- Install Microsoft Authenticator or Google Authenticator on your mobile device. Note that authenticator apps can be installed on mobile devices such as mobile phones and tablets but cannot be installed on computers.
Download Microsoft Authenticator - Microsoft Support
Get verification codes with Google Authenticator - Android - Google Account Help
- Open Microsoft Authenticator or Google Authenticator on your mobile device and scan the QR Code on the MFA enrollment screen II A.
- In the authenticator app, your DonorCentral account will be added. It will be listed as 'npact-auth' in the authenticator app.
- You will see a code appear in the authenticator app for DonorCentral. If you have multiple accounts in the authenticator app for different applications, you will need to click into the 'npact-auth' account to see the code for DonorCentral.
- Enter the code from the authenticator app into the field labeled 'Enter your passcode here' as shown above.
- You will see a the following screen below.
- Return to the DonorCentral tab and click Continue to go to the DonorCentral home page:
2. SMS (Text) Option
- Users have 5 minutes to retrieve the code that was texted to them on their cell phone and enter that code into the passcode area shown below. If the user does not retrieve and enter the code within 5 minutes, the log in transaction is cancelled and the user will have to log into DonorCentral again and restart the MFA process.
- Click the highlighted blue SMS portion of the section labeled 'I'd rather use SMS (Text Message)' as shown in section II A.
- You will see the screen below appear after clicking the SMS link.
- Check the box to agree to receive verification codes from Twilio to your mobile device. The text message you receive will have the verbiage, "xxxxxx is your verification code for DonorCentral. Please enter this code to verify your enrollment."
- Enter in the phone number of your mobile device and click the arrow. Note, when entering the phone #, do not include any spaces or characters such as dashes.
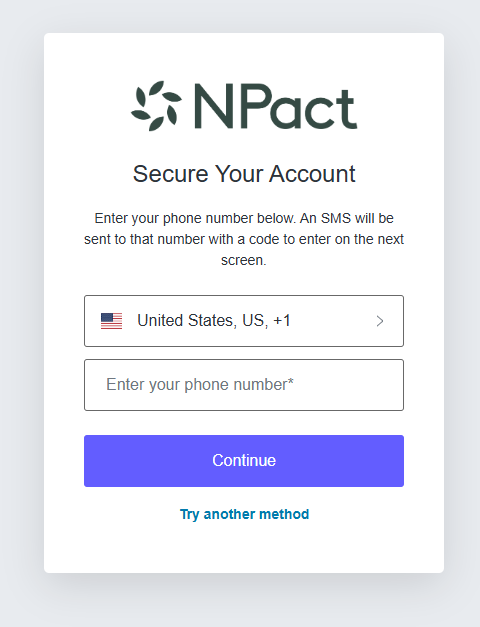
- You will be sent a text message to your mobile device that will contain a code.
- Enter that code on this screen and then click Continue.
- You will see this screen appear below.
.png)
- Return to the DonorCentral tab and click Continue to go to the DonorCentral home page:
.png)
3. Email Option
Starting 2/26/2025, users can choose to enroll with MFA with email.
- Choose Enroll with Email as shown in section II.
- You will see this screen appear. Click Enroll to proceed, or click Choose another method if you would like to choose a different MFA method:
The email address for which you are enrolled in DonorCentral will automatically appear here and will be where you will receive MFA codes. If a different email address is desired to be used, then the email address has to be first updated in FIMS on the profile, and that email uploaded to DonorCentral.
.png)
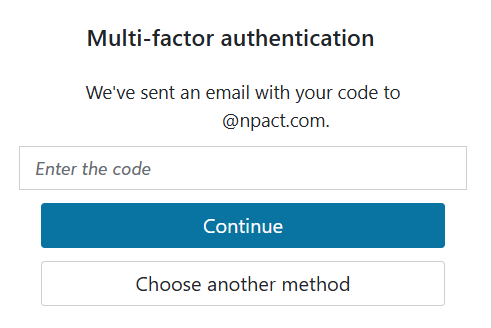
- You will receive an email with a code that looks like this below. Note that the code has been deleted from this screenshot for security reasons:
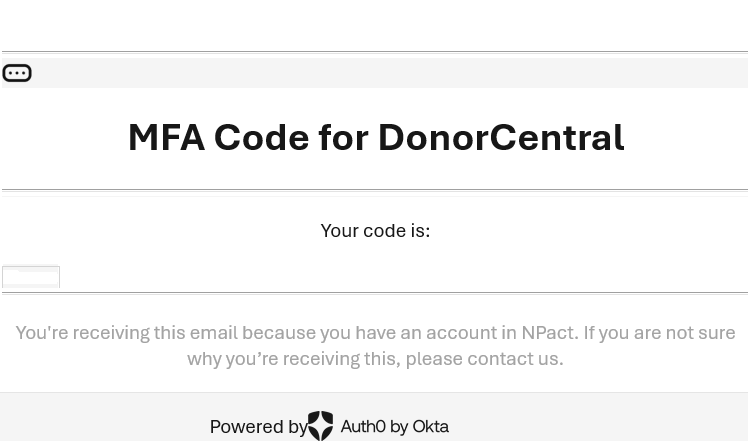
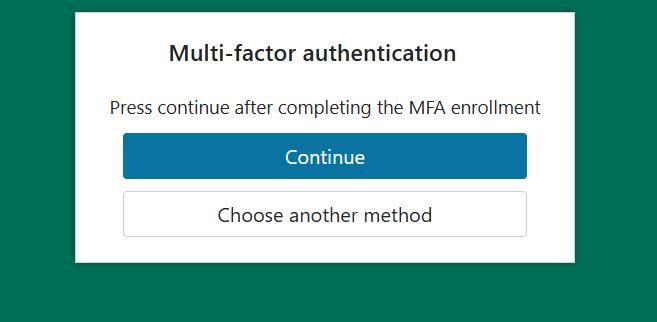
- Once clicking enroll, you will see this screen appear below. Enter the code you received in your email and then click Continue:
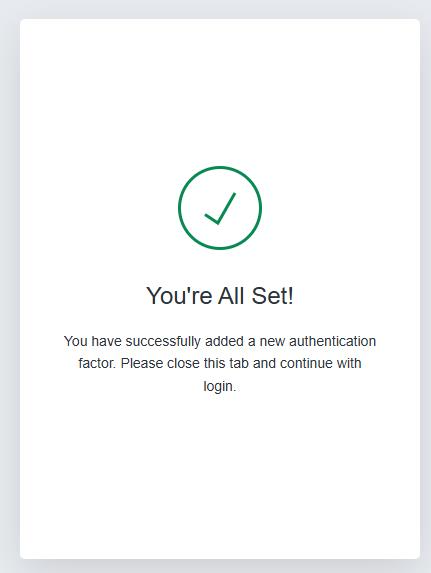
- After enrolling, you will see this screen.
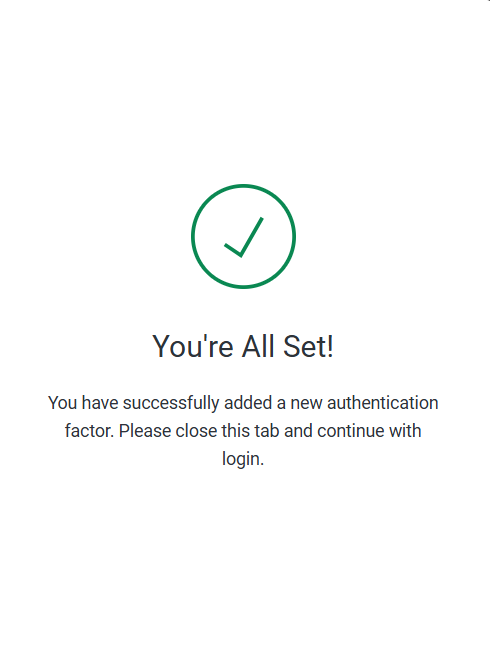
- Return to the DonorCentral tab and click Continue to go to the DonorCentral home page:
.png)
III. On subsequent logins, you will then be asked to enter a code from either the authenticator app, text message or email, depending on what method of MFA that you chose.
Was this article helpful?

