Unposted Application Export w/ Fund Rep
- 08 Aug 2023
- Contributors

- Print
- Dark
- PDF
Unposted Application Export w/ Fund Rep
- Updated on 08 Aug 2023
- Contributors
- Print
- Dark
- PDF
Article summary
Did you find this summary helpful?
Thank you for your feedback!
Unposted Application Export w/ Fund Rep
This export is similar to the Unposted Application Export except that it is based on the application payment plan line items. If an application has a payment plan with more than one line item, each line item will produce an export record. This export also includes information about the Fund representative for each application.
When you run the report, there are two additional tabs on the FIMS Report Selections window – Fund Rep Affiliations and Fund Rep Mailing.
You can use the data file from this export to create Donor advised award letters where you want to provide the Grantee with the name and address of the Donor advisor.
Keep in mind that some Donors will be anonymous or prefer not to be contacted. You can create a conditional merge based on the Grant Letter code in the Fund record that can produce a slightly different letter depending on whether the Donor wants to receive a formal appreciation, or not, or if they want to remain anonymous.
Refer to Using FIMS with Microsoft Office for more information on using mail merge, and call FIMS Support for help with setting up the conditional merge.
NOTE: You can access this export from anywhere in FIMS by selecting Reports > Grants > Application Reports > Unposted Application Export w/ Fund Rep.
Exported Fields
The following information is included in the data file in this export:
Field | Field | Field |
|---|---|---|
Name | Title | Organization |
Address 1-2 | City, State, Zip | Salutation |
Received Date | Requested Amount | Board Date |
Grant Number | Grant Amount | Grant Date |
Fund | Description | Recommendation |
Action | Status | Request Type |
Program Name | Recommended Amount | Payment Line 1-5 |
Region Code | Notes | Program Officer |
Program Officer Title | Start Date | End Date |
Required Date | Strategy | Project |
Region | Program | Population |
Committee | Committee Date | Contact Phone |
Fund Rep Name | Fund Rep Address 1-2 | Fund Rep City, State, Zip |
Fund Name | Fund Amount | Grant Letter |
Fund ID | Pop-Disability | Fund Rep Salutation |
Charity Number | Grantee ID Code | Fund Rep ID Code |
Grantee Budget | Program Officer Email | Fund Rep Organization |
Fund Rep Country | Fund Rep County | Fund Rep Email |
Fund Anonymous | Fund Rep ASF | Profile Explore Directory |
Funds Explore Directory | Fund Rep Explore Directory | Division Name |
Division Address 1-2 | Division City, State, Zip | Division Email |
Division Web Site | Division Explore Directory | Application Explore Directory |
Donor Advisor Explore Directory | Payee Explore Directory |
|
Running the Unposted Application Export with Fund Rep
1. In the Grantee and Grant Management module, select Reports > Application Reports > Unposted Application Export w/ Fund Rep. The FIMS Report Selections window opens.
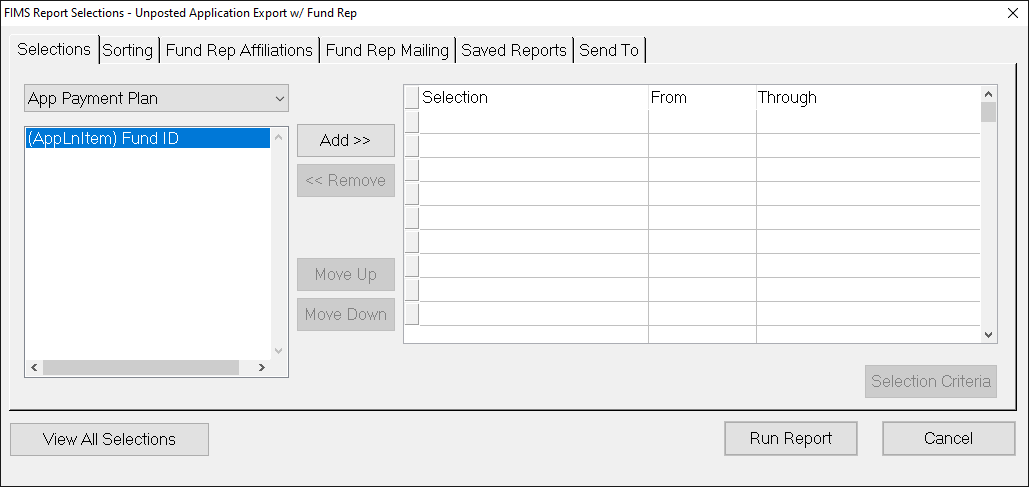
2. Configure your Selections and Sorting options as you would with any standard FIMS export, and then click the Fund Rep Affiliations tab.
3. Select the desired affiliation code(s) from the left-hand pane and click the Add button.
4. Click the Fund Rep Mailing tab.
5. Select the type of Salutation that you want to use for each Fund Rep.
6. Click the arrow in the Direct Mail to Address Type drop-down box and select the address type you want to use for the mail merge (for example, home or business).
7. Select the date that you want to use for the mailing. FIMS uses this date to determine if an alternate address should be used for a given Profile.
8. Select any of the following mailing options that you want to use:
- Final Sort for Zip Code: If you select this checkbox, records are sorted based on their zip code (useful for sorting letters in bulk mailings).
- Ignore Allow Mail Flag in Profiles: If you select this checkbox, a letter will be generated regardless of whether the Allow Mail checkbox is select in the Profile record.
- Capitalize Addresses: If you select this checkbox, all of the addresses will be capitalized.
9. When you are finished, save the export as a Default, and then click the Run Report button.
Was this article helpful?

