Use Mail Merge to Create Custom Reports in Word
- 13 Nov 2023
- Contributors


- Print
- Dark
- PDF
Use Mail Merge to Create Custom Reports in Word
- Updated on 13 Nov 2023
- Contributors
- Print
- Dark
- PDF
Article summary
Did you find this summary helpful?
Thank you for your feedback!
Use Mail Merge to Create Custom Reports in Word
Using Word’s mail merge feature is similar to linking a formatted report in Word to a FIMS export file (refer to Using FIMS Export Files or Saved Report Files to Create a Formatted Report in Word for more information).
Whether you use this method or link to a FIMS export file, if you want to include a total line in your report, you must manually add the line each time the data is refreshed.
Note: These steps use Word’s Mail Merge wizard as the recommended method. If you are familiar with Microsoft Word, you may also use the Mail Merge toolbar to complete the process. The buttons on the toolbar are arranged in the order you will need them, from left to right.
1. Run an export in FIMS (for example, Gift History Export, Export Grant Information, Export Application History) and note the path and file name for the exported data file.
Note: IMPORTANT: Make sure you save your data file with a .txt extension.
2. Select Mailings > Start Mail Merge >Step-by-Step Mail Merge Wizard. 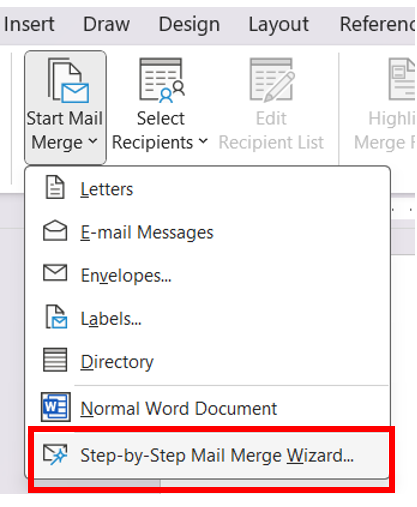
3. In the Select Document Type section, select Directory, and then click Next: Starting Document.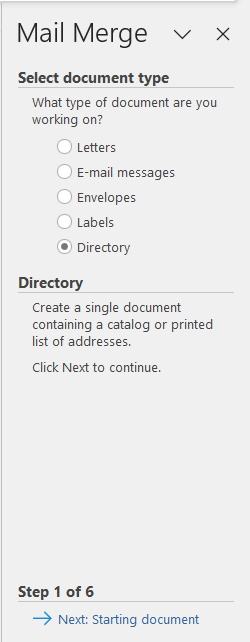
4. Select Use the Current Document, and then click Next: Select Recipients. 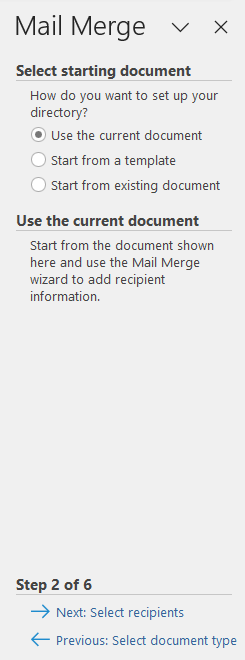
5. Keep the default values, and then click Browse under Existing List.
6. Select the data file that contains the exported FIMS data and click Open. The Mail Merge Recipients window opens.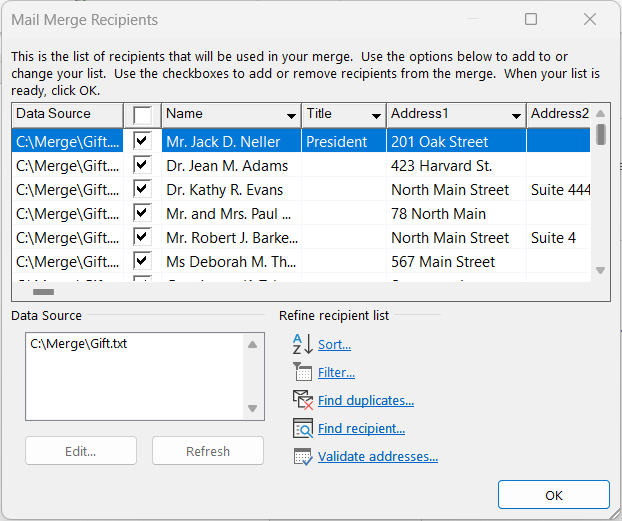
7. When you are satisfied with the list, click OK and Next: Arrange your directory.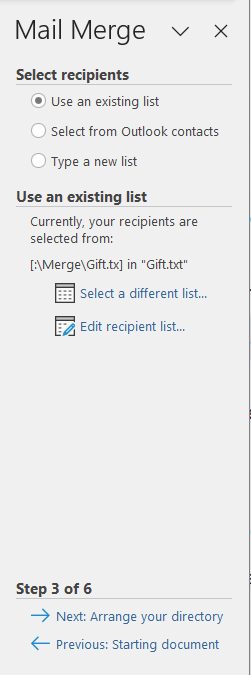
8. Click More Items to open the Insert Merge Field window.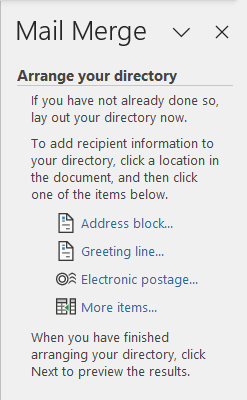
9. Make sure the Database Fields radio button is selected, and then add the desired fields to the document by selecting each field and clicking the Insert button. When you are finished, click the Close button.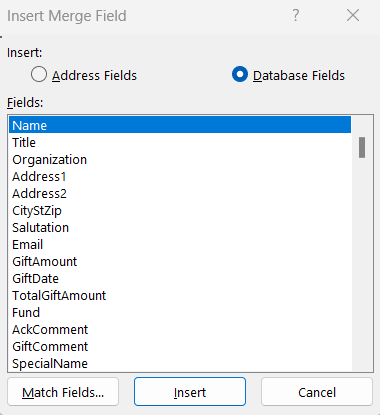
10. Use tabs to separate the fields you have added to your document.
11. Highlight the merge fields and then select Insert > Table > Convert Text to Table. 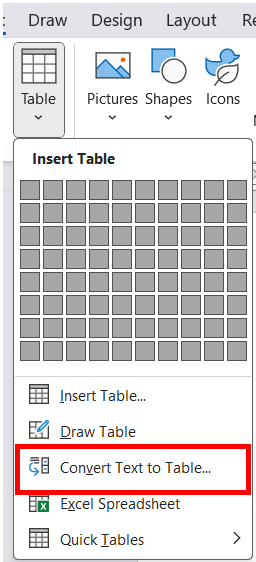
12. Select the desired options for setting up your table. In the "Separate text at" section, select Tabs.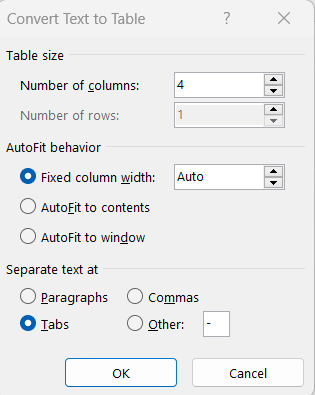
13. Click OK. 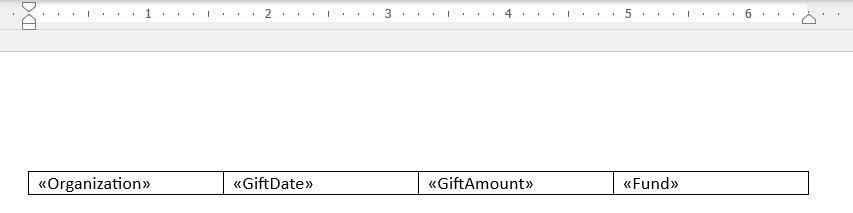
14. Click Next: Preview your directory.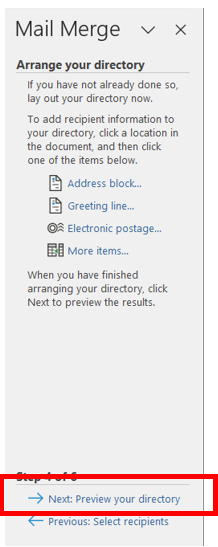
15. In the Preview your directory section, click the arrow buttons to see a preview of how your data will look when it is merged. If you want to change or remove any records, use the Make changes section. When you are finished, click Next: Complete the merge. 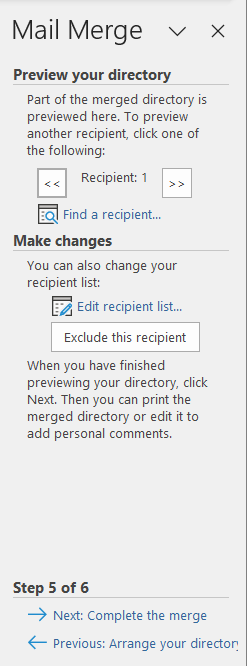
16. In the Merge section, click To New Document and then select the records that you want to merge..png)
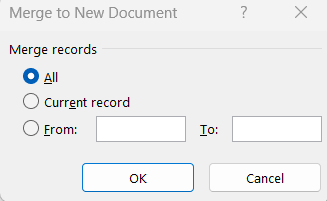
The resulting report is in tabular form.
Tip: You can use Word features to enhance the report (for example, hide table lines, add a row for column labels, or change the font).
Was this article helpful?

