User Defined Gift History Export
- 11 Oct 2023
- Contributors

- Print
- Dark
- PDF
User Defined Gift History Export
- Updated on 11 Oct 2023
- Contributors
- Print
- Dark
- PDF
Article summary
Did you find this summary helpful?
Thank you for your feedback!
User Defined Gift History Export
This export has two unique features that make it a powerful tool for exporting Gift history information to create ad-hoc reports in Word or Excel.
Features of the User Defined Gift History Export
- It allows you to select the Gift-related data fields that you want to export. You can include any field from the Gifthistory table, Fund table, FundDetailHistory table (Fund-level Gift information), Donor table, and / or Profile table in the export file, and use them to create a separate column in your report. If you specify a main Microsoft Word mail merge document (that has merge fields corresponding to the exported fields) on the Send To tab, and save the export as a default, you will have quick access to a custom report. Refer to Saving Report Settings for more information.
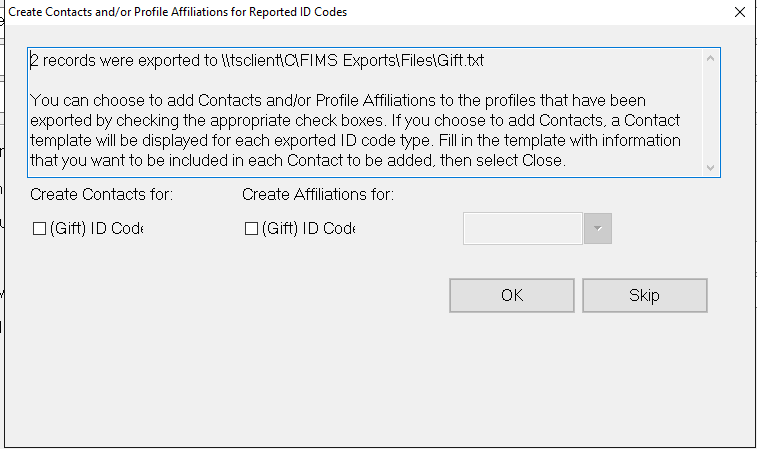
- You can create Contacts or add Affiliation codes to each unique Profile ID code included in this report, directly from the FIMS viewer. Refer to Creating Contacts from Reports and/or Exports in the Introduction, and Adding Affiliations from Reports and/or Exports in the Profile Management module for more information.
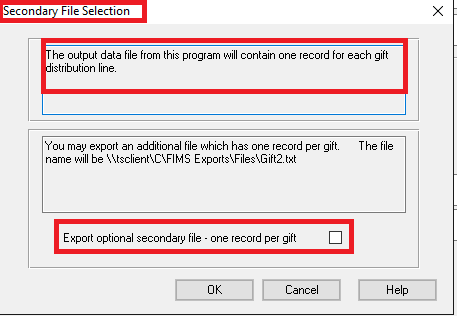
- This export can also create two separate data files; Gift: A Gift Distribution file that includes one line for every Gift distribution.
NOTES:
The default file name for the distribution level export is Gift.txt.
- Gift2: An optional Gift export file that includes a single line per Gift, regardless of the number of distributions. This option appears after you click the Run Report button.
If the name of the primary (Gift Distribution) export file is <name>.txt, the name of this secondary export file will be <name2>.txt.
You can either use the export files individually (for Fund or Gift level reporting), or together to create a single report that lists Gifts with the total amount and line items that display the Fund amounts.
Running the User Defined Gift History Export
1. Go to Reports\Gifts\User Defined Gift History Export
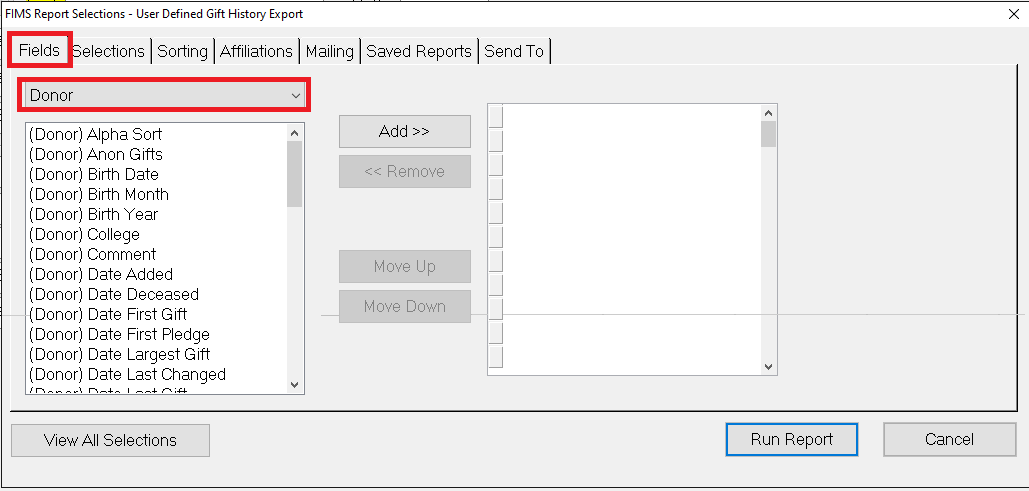
2. On the Fields tab, choose the columns that you would like to export. Click the drop down to search each database table and then from within each table, choose the fields to include as columns:
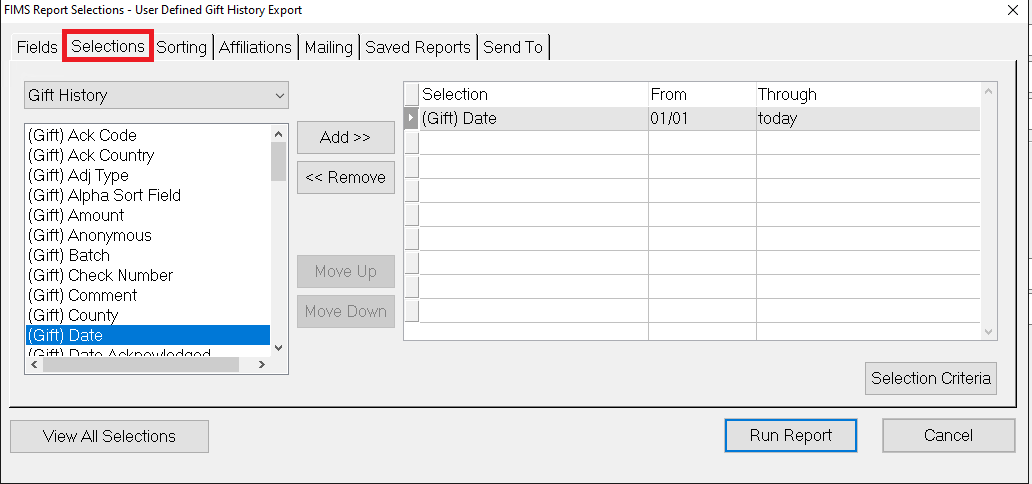
3. On the Selections tab, choose the fields to use as selections to limit the data that gets exports. For example, if you only want to export gifts with a certain date, range you would choose Gift date as a selection and then select the date range:
4. (Optional) Go to the Sorting tab and select a sorting order for exported data.
5. (Optional) Go to the Affiliations tab and make any selections for certain affiliation codes, meaning, only those donor records with the selected affiliation codes will be exported.
6. (Optional) Go to the Mailing tab and make desired selections for salutations or mailing data
7. (Optional) Go the Saved Reports and tab create a new report or update an existing one so that you do not have to create the export from scratch each time, you can simply select a saved report.
8. Go to the Send To tab and select the location to which to export the gifts.txt file.
9. When done click Run Report
10. You will see a prompt asking if you would like to export the secondary file, check the checkbox if you would like to export that, or leave unchecked and then click OK.
11. You will then see a window asking if you would like to create contacts or affiliations for the profiles that were exported. Check the checkboxes for one of those if needed or if not, leave unchecked then click OK.
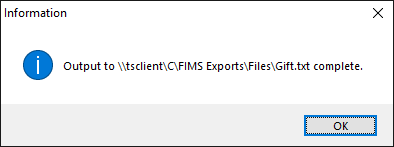
12. You will then see a window showing that the data was exported:
Was this article helpful?

