User Defined Application History Export
- 22 Aug 2023
- Contributors

- Print
- Dark
- PDF
User Defined Application History Export
- Updated on 22 Aug 2023
- Contributors
- Print
- Dark
- PDF
Article summary
Did you find this summary helpful?
Thank you for your feedback!
User Defined Application History Export
This FIMS export allows you to select the actual fields you want to export. You can select any field from the AppHistory (fields from the application), AppHistLineItem (payment plan tab), Fund (fields from the Fund record), Fund-Rep (fields from Fund associations), Grantee (fields from the Grantee record), Student (fields from the Student record), Fund-Schol (fields from the Fund Scholarship record) and / or Profile tables for export. Fields are selected from the Fields tab on the FIMS Report Selections window.
It is important that you understand how the FIMS database works and what the fields are before running this export. Please contact FIMS Support for help determining the appropriate fields to export for your needs.
NOTE: Make sure that the default file extension is .txt. To do this, select Tools > System Utilities > System Initial Setup and then click the Word Processing tab. Change the extension in each of the File fields (for example, Profile File, Donor File, Grantee File) to .txt, and then click OK.
This export also has an option to create a second export file that exports one record per Grant (regardless of how many Funds are affected by the Grant). The default file name for this second export file is app2.txt. This option appears after you click the Run Report button.
NOTE: In this secondary export file, all of the fields for each line on the Payment Plan tab are exported by default. If you do not want those to be part of the export, change the Number of payment line items to append to export fields to zero (of if you want a different number of lines to exported, enter the desired number).
NOTE: What you choose on the Selections or Affiliations tab affects which records are exported — regardless of what you select on the Fields tab. For example, if you choose selection criteria that exports 10 Grants, and each one came from one Fund, then 10 records will appear in the default export file and 10 records will appear in the secondary export file. If you choose selection criteria that exports 10 Grants, and each one came from two Funds, then 20 records will appear in the default export file, but only 10 records will appear in the secondary export file. Also, if selection criteria include a selection based on Fundrep, then how many records exported will be driven by that data. For example, if Selection includes Fundrep type equal to donor advisor, and there are 10 Grants but only 5 contain line items with Funds tied to a Fundrep type of donor advisor, then only 5 records will be exported.
IMPORTANT: This is a Fund-level export. Therefore, if Grants are included in the export that actually came from more than one Fund (more than one Fund is indicated on the Payment Plan tab), then one record is exported for each Fund. If you are looking for the amount that came from each Fund, then you have to select the (AppHistLine) Payment Amount field from the AppHistory table as one of your exported fields (this field contains the amount that came from each Fund).
NOTE: This export is driven by Application History. Only records that have related applications will be exported.
Refer to the User Defined Profile Export and User Defined Gift History Export for more information.
NOTE: You can create Contacts or add Affiliation codes to each unique Profile ID code included in this export. Refer to Creating Contacts from Reports and/or Exports in the Introduction, and Adding Affiliations from Reports and/or Exports in the Profile Management module for more information.
Running a User Defined Application History Export
NOTE: Although this procedure exports specific fields, you can select any fields that you need, depending on the purpose of the report.
1. In the Grantee and Grant Management module, select Reports > Application History Reports > User Defined Application History Export. The FIMS Report Selections window opens.
User Defined Application History Export – Fields Tab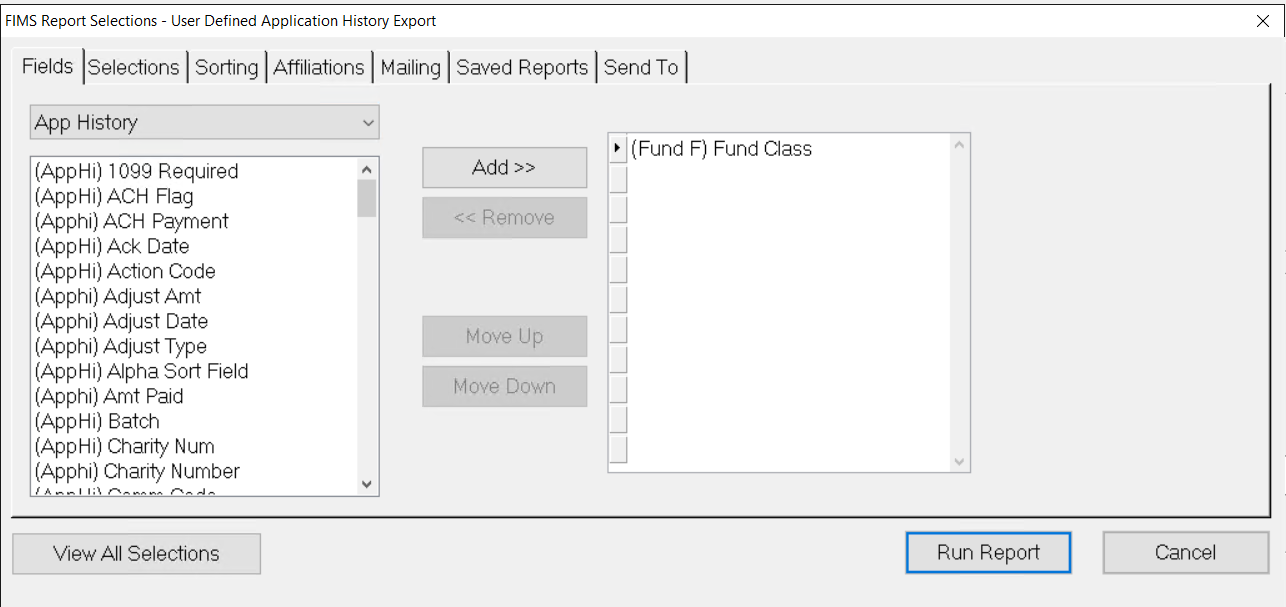
2. Select the desired field(s) and click the Add button to add them to the export. Only the fields selected on this tab will appear in your report.
NOTE: You can change the order in which the fields appear in the export by selecting a field in the right-hand pane and clicking either the Move Up or Move Down button.
NOTE: If you select Grantee Address, all of the following fields will be exported: Name, Org. Name, Title, Address 1-2, City, State, Zip, Salutation, E-mail, Web Site, Work Phone, and Explore Directory (Grantee Profile folders).
3. Once you have selected the desired fields, use the remaining tabs (Selections, Sorting, Affiliations) to set up the export just as you would any other.
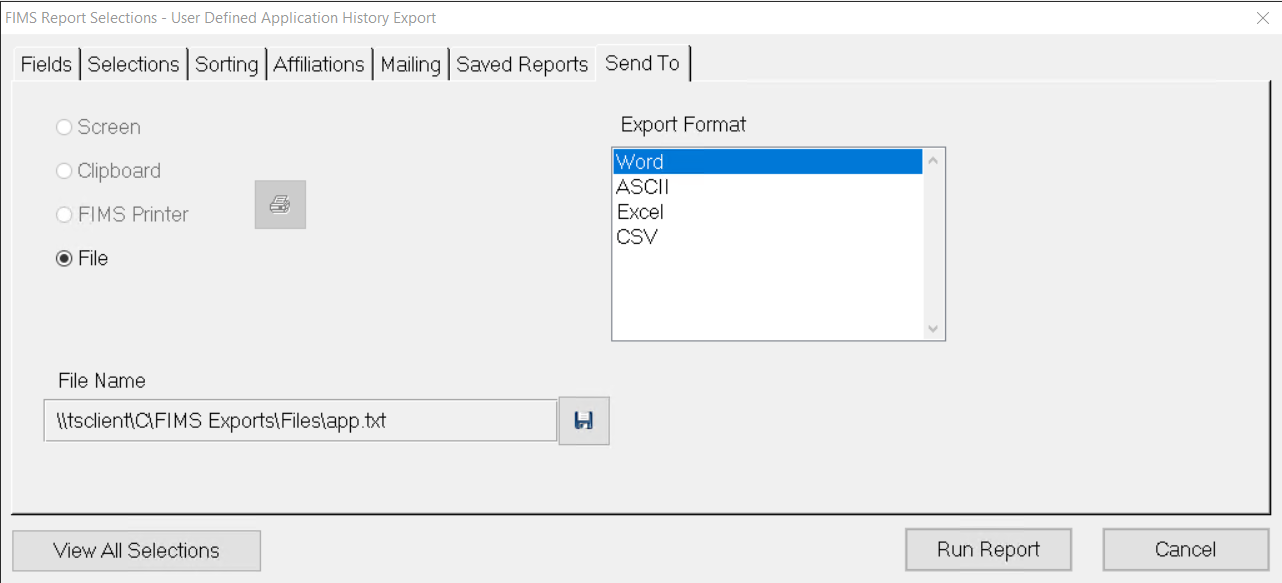
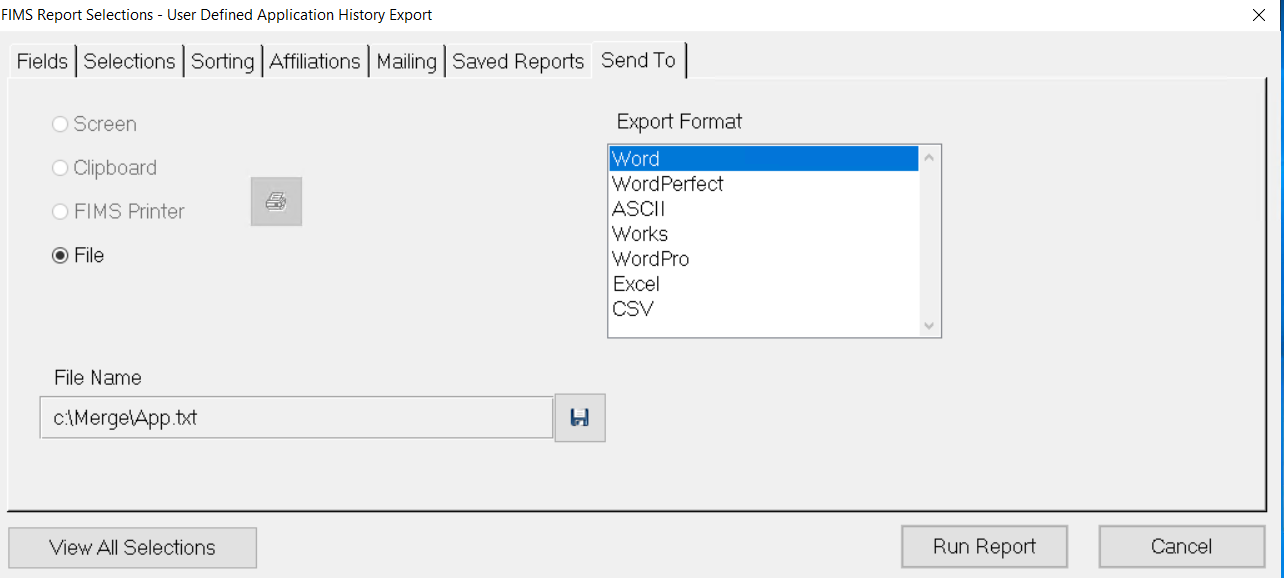
4. When you are finished configuring the export, click the Send To tab and verify that the path and File Name for the export file is correct. The default path and file name is c:\App.txt for on-premises custmers. If you are using FIMS on Azure, the path will point to a folder on your local C drive which will be proceeded by \\tsclient.
You can change the path to export the app.txt file to a folder of your choice.
Example Azure. Your local folders will be named differently:
Example on-premises. Your folder may be named differently:
 5. Click the Saved Reports tab to save your export as a report so that you can easily load it without having to enter in selections each time:
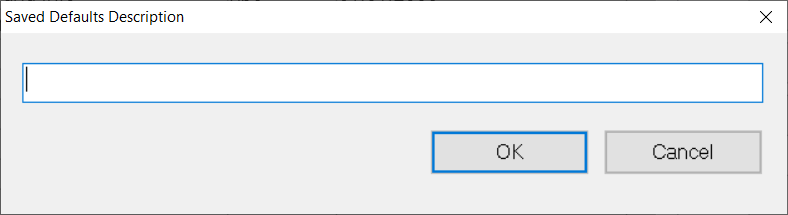
6. Click the Add button. A window opens asking you to provide a description.
.PNG)
7. Enter a name for the export and click OK. The default values are added to the list, under the description you provided.
NOTE: Saving the export settings allows you to run it at any time without having to manually select the desired fields, selections, and sorting criteria every time. Simply go to the Saved Reports tab, select the desired export, and click the Load Selection button.
8. Click the Run Report button to export the selected information. The Secondary File Selection window opens.
Secondary File Selection Window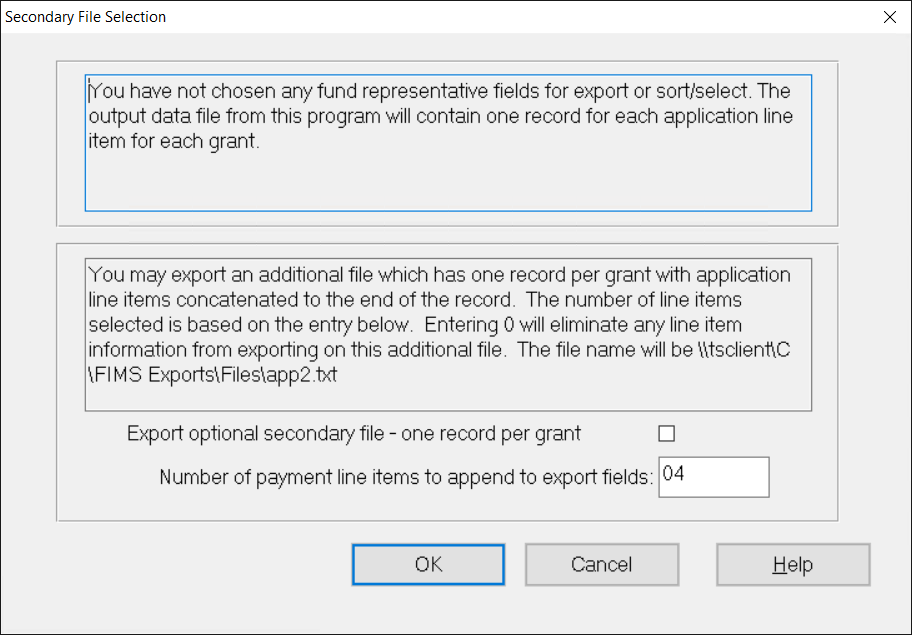
9. If you want FIMS to create a second export file that lists one record per Grant, (regardless of the number of application line items), select the Export optional secondary file checkbox. If you do not want this file clear the checkbox.
NOTE: The name of the secondary export file is <filename>2.txt, where <filename> is the name of your original export file (for example, if you keep your export file is named app.txt, your secondary file will be named app2.txt). You cannot change the name of this file.
10. In the secondary export file, FIMS exports all of the fields for each line on the Payment Plan tab by default. If you do not want those to be part of the export, change the Number of payment line items to append to export fields to 0 (of if you want a different number of lines to exported, enter the desired number).
11. Click OK to run the export. A confirmation window opens to tell you how many records were exported to each file.
You can now open the export file(s) in Word or Excel to create presentation quality report or analyze the date (for example, by using pivot tables in Excel) Refer to Using FIMS Data with Microsoft Office for more information).
NOTE: If you use the ID Code field as the first field in your export, you may receive the following error when you try to open the file in Microsoft Excel:
"Excel has detected that <filename> is a SYLK file, but cannot load it. Either the file has errors or it is not a SYLK file format. Click OK to try to open the document in a different format."
If you receive this error, try running the export with a different field in the first column.
Was this article helpful?

